What is OpenAI and why use it in PowerApps?
OpenAI is a research organization that aims to create artificial intelligence (AI). They have developed a general-purpose NLP system called GPT-3/ GPT-4, which can generate coherent and relevant text for a wide range of tasks, such as answering questions, writing summaries, creating content, and more.
By using OpenAI in PowerApps, you can leverage the power of GPT-3 to enhance your apps with natural language features, such as chatbots, text analysis, content generation, and more. You can also use OpenAI to create dynamic and engaging user experiences that are tailored to your specific needs and goals.
How to sign up for the OpenAI API?
To sign up for the OpenAI API, follow these steps:
Sign up to the official OpenAI platform https://platform.openai.com/. Once you’re logged in, navigate to the Personal tab in the top-right section. Select the View API Keys option from the dropdown. On the API keys page, click on the Create new secret key button. Remember to store the key somewhere safe as you won’t be able to view it again. The ChatGPT API allows developers to integrate ChatGPT into their own applications. It’s important to note that the API has its own pricing, which you can find at OpenAI Pricing. The ChatGPT API is not included in the ChatGPT Plus subscription and is billed separately.
How to set up a custom connector for OpenAI?
Once you have your API key, you can set up a custom connector for OpenAI in PowerApps. A custom connector is a way to connect your app to any web service that has a RESTful API. You can use custom connectors to access data and actions that are not available in the standard connectors.
To set up a custom connector for OpenAI, follow these steps:
-
Go to https://make.powerapps.com/ and sign in with your Microsoft account.
-
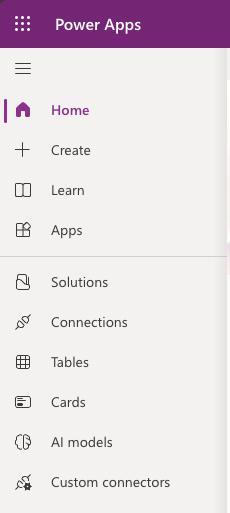
In the left navigation pane, click on Custom connectors.
-
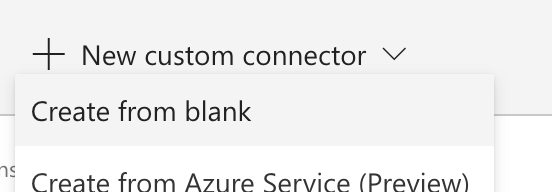
Click on New custom connector > Create from blank.
-
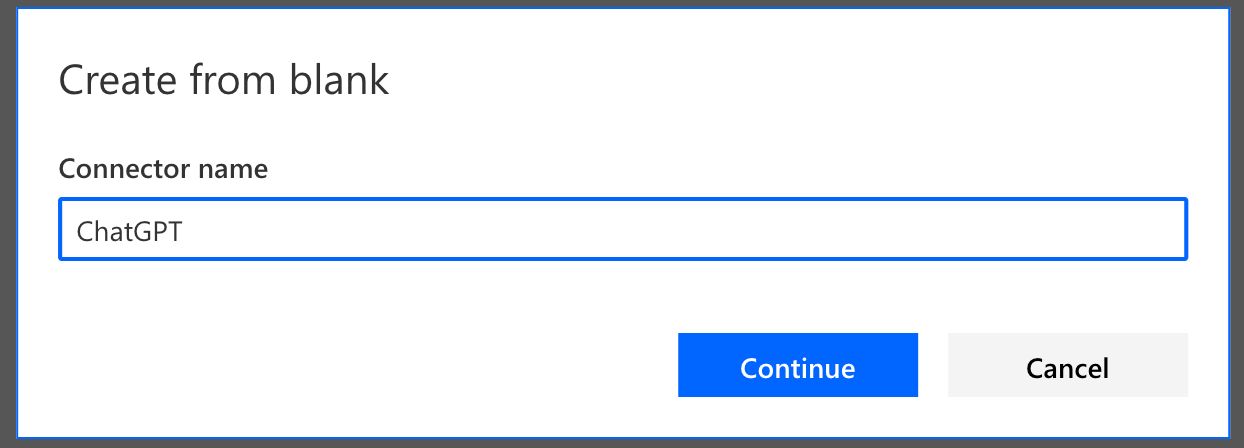
Enter a name for your connector, such as “ChatGPT”, and click Continue.
-
In the General tab, enter the following information:
- Description: A brief description of your connector, such as “A custom connector for OpenAI”.
- Host: The base URL of the OpenAI API, which is “api.openai.com”.
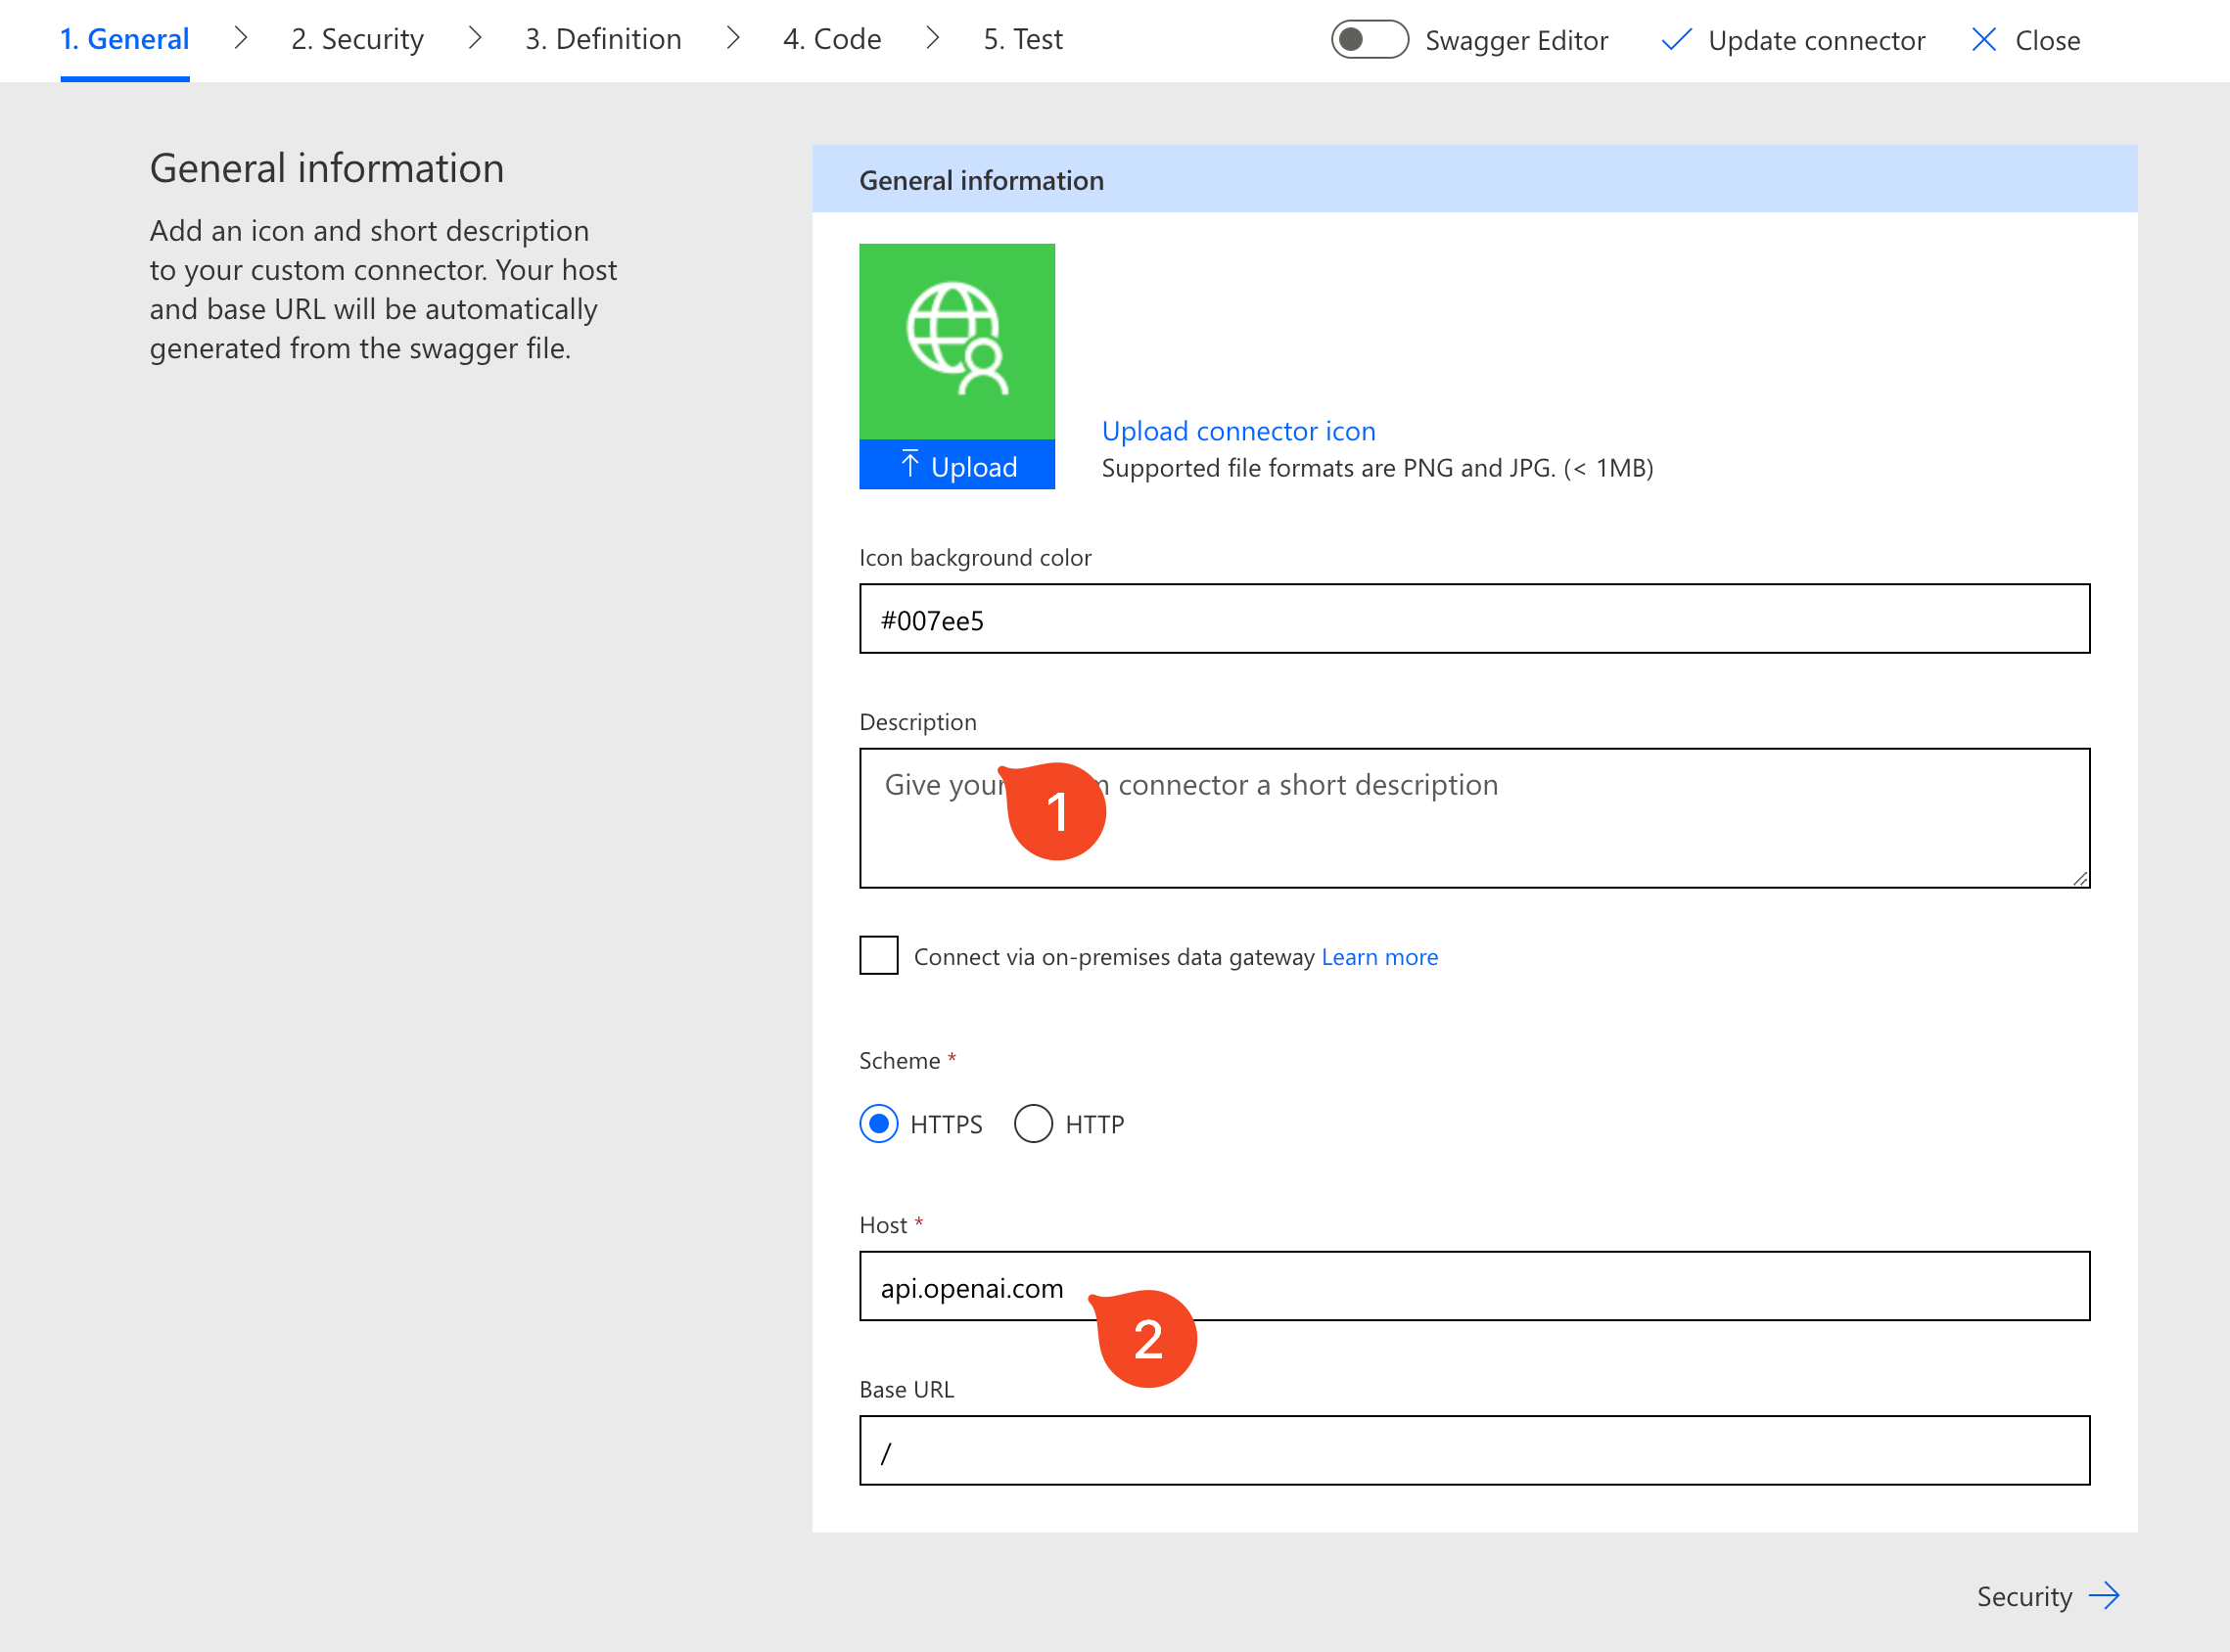
- Click on Security
- Authentication type: Select “API Key” from the drop-down menu.
- Parameter label: The name of the parameter that holds your API key, such as “API Key”.
- Parameter name: The name of the header that holds your API key, which is “Authorization”.
- Parameter location: Select “Header” from the drop-down menu.

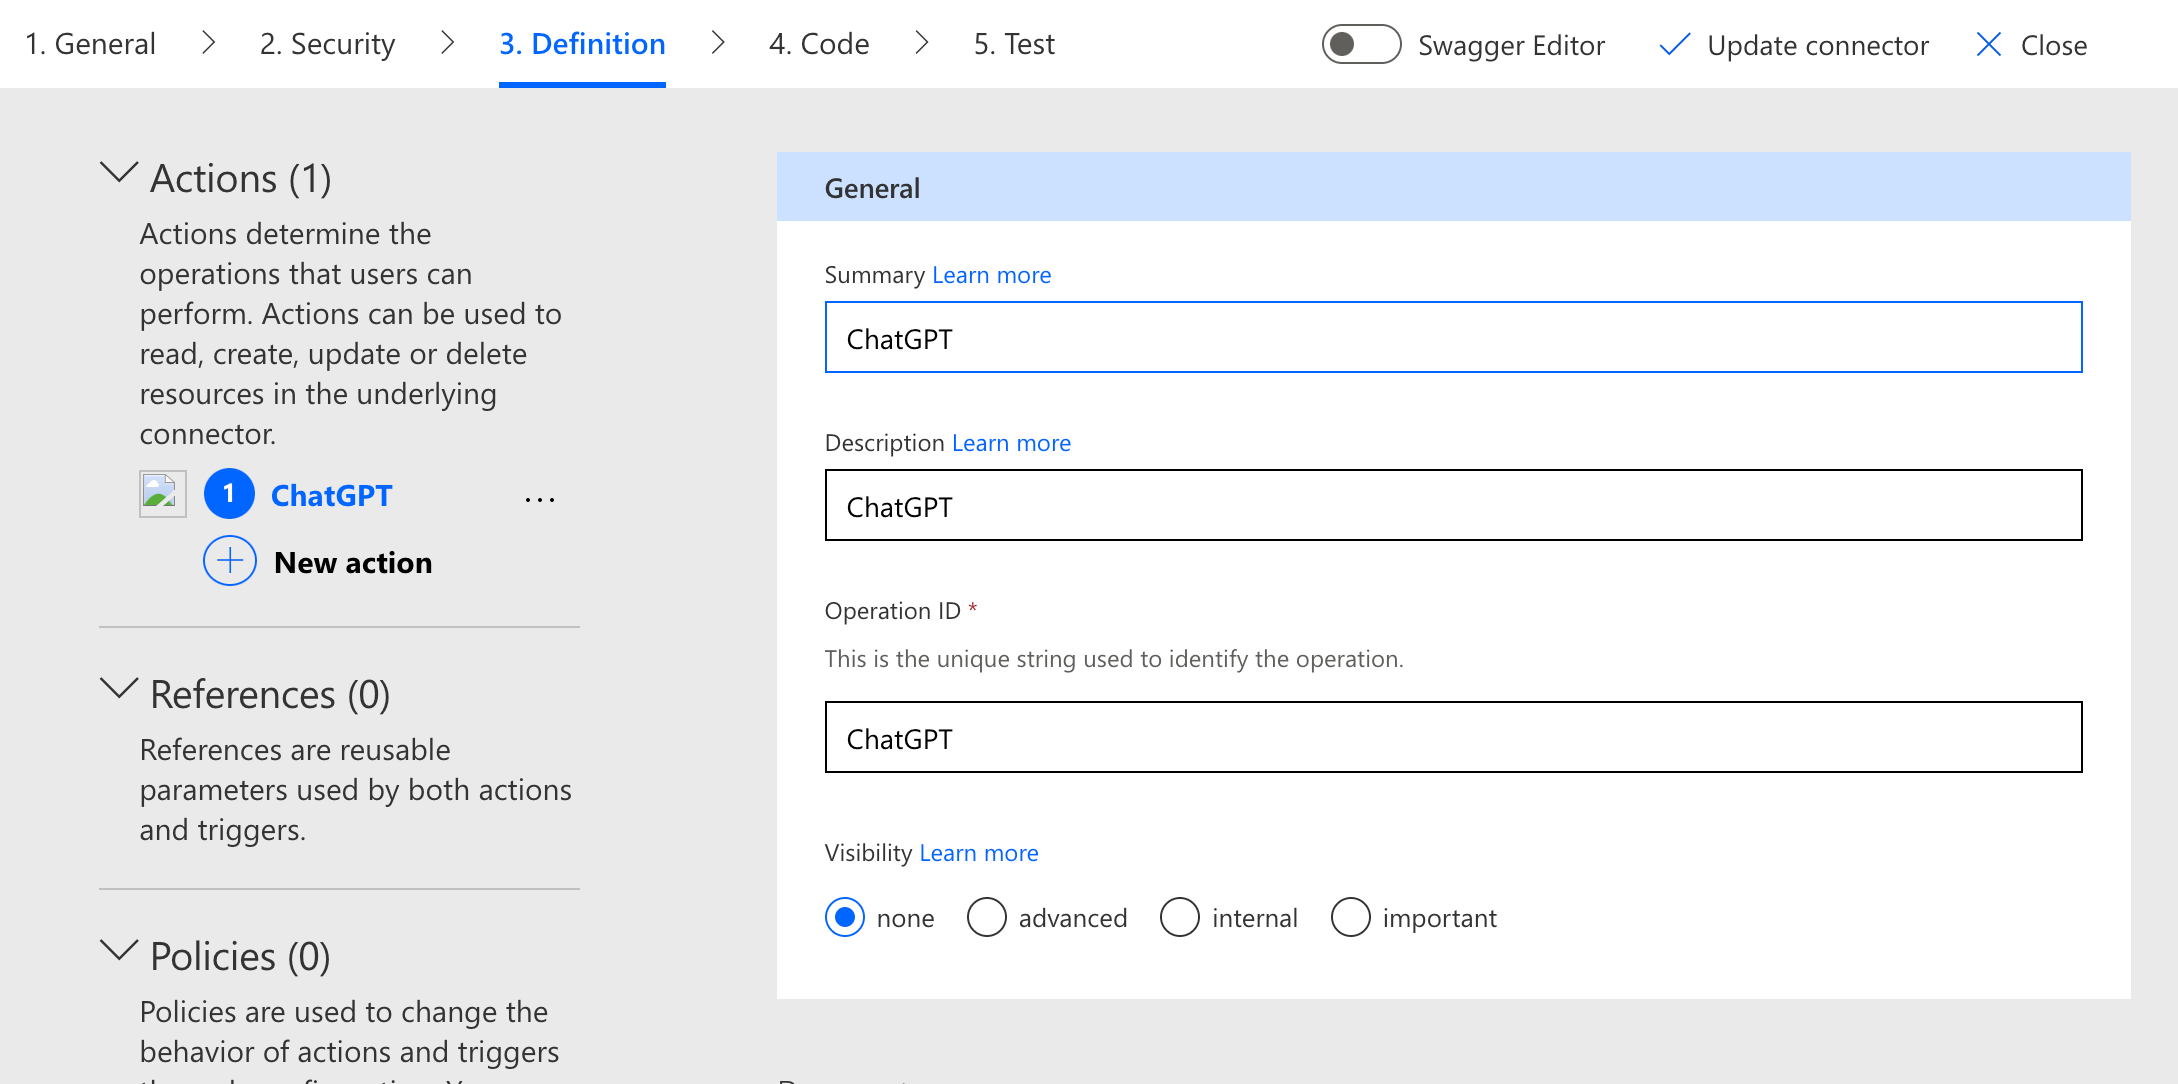
- Click on Definition > New action and enter the following information:
- Summary: A brief summary of what the action does, such as “Generate text using OpenAI”.
- Description: A detailed description of what the action does, such as “Generates text using OpenAI’s GPT-3 engine based on a given prompt and parameters”.
- Operation ID: A unique identifier for the action, such as “GenerateText”.
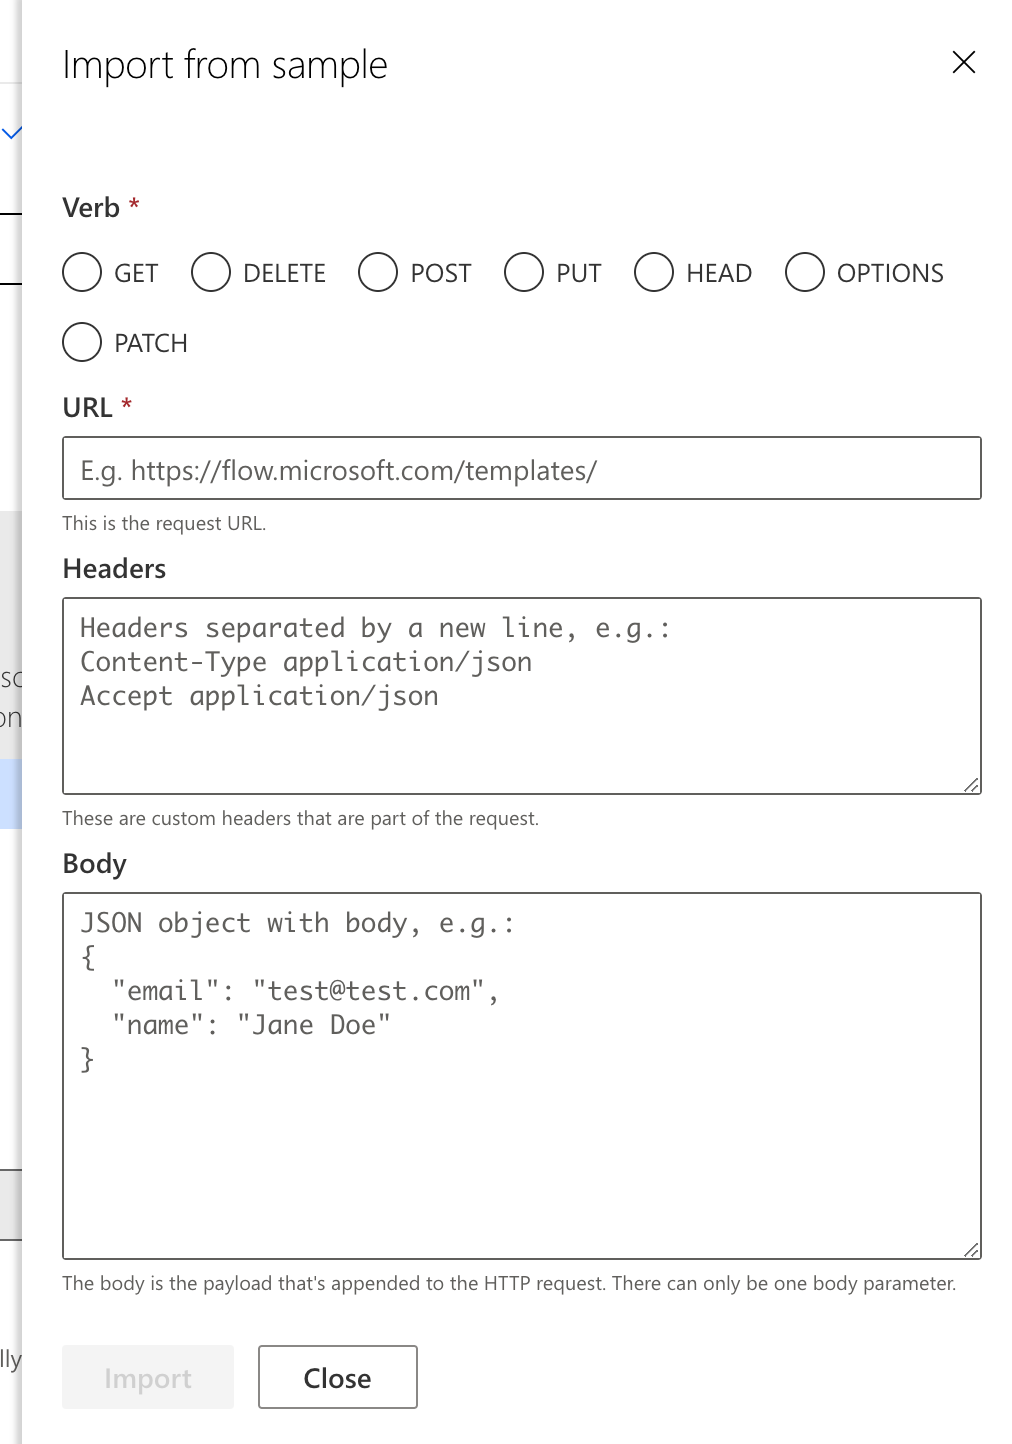
- Click on Request > Import from sample and enter the following information:
- Verb: Select “POST” from the drop-down menu.
- URL: The endpoint of the OpenAI API that you want to use, which is “https://api.openai.com/v1/chat/completions".
- Headers: Leave this blank.
- Body: A sample JSON body that contains the parameters for the text generation, such as:
|
|
- Click on Import and then on Update connector.
- Click on Test > New connection and create a new connection for your connector. Enter your API key in the format “Bearer sk-xxxxxxxxxxxxxxxxxxxxxxxxxxxxxxxx” (replace the x’s with your actual key).
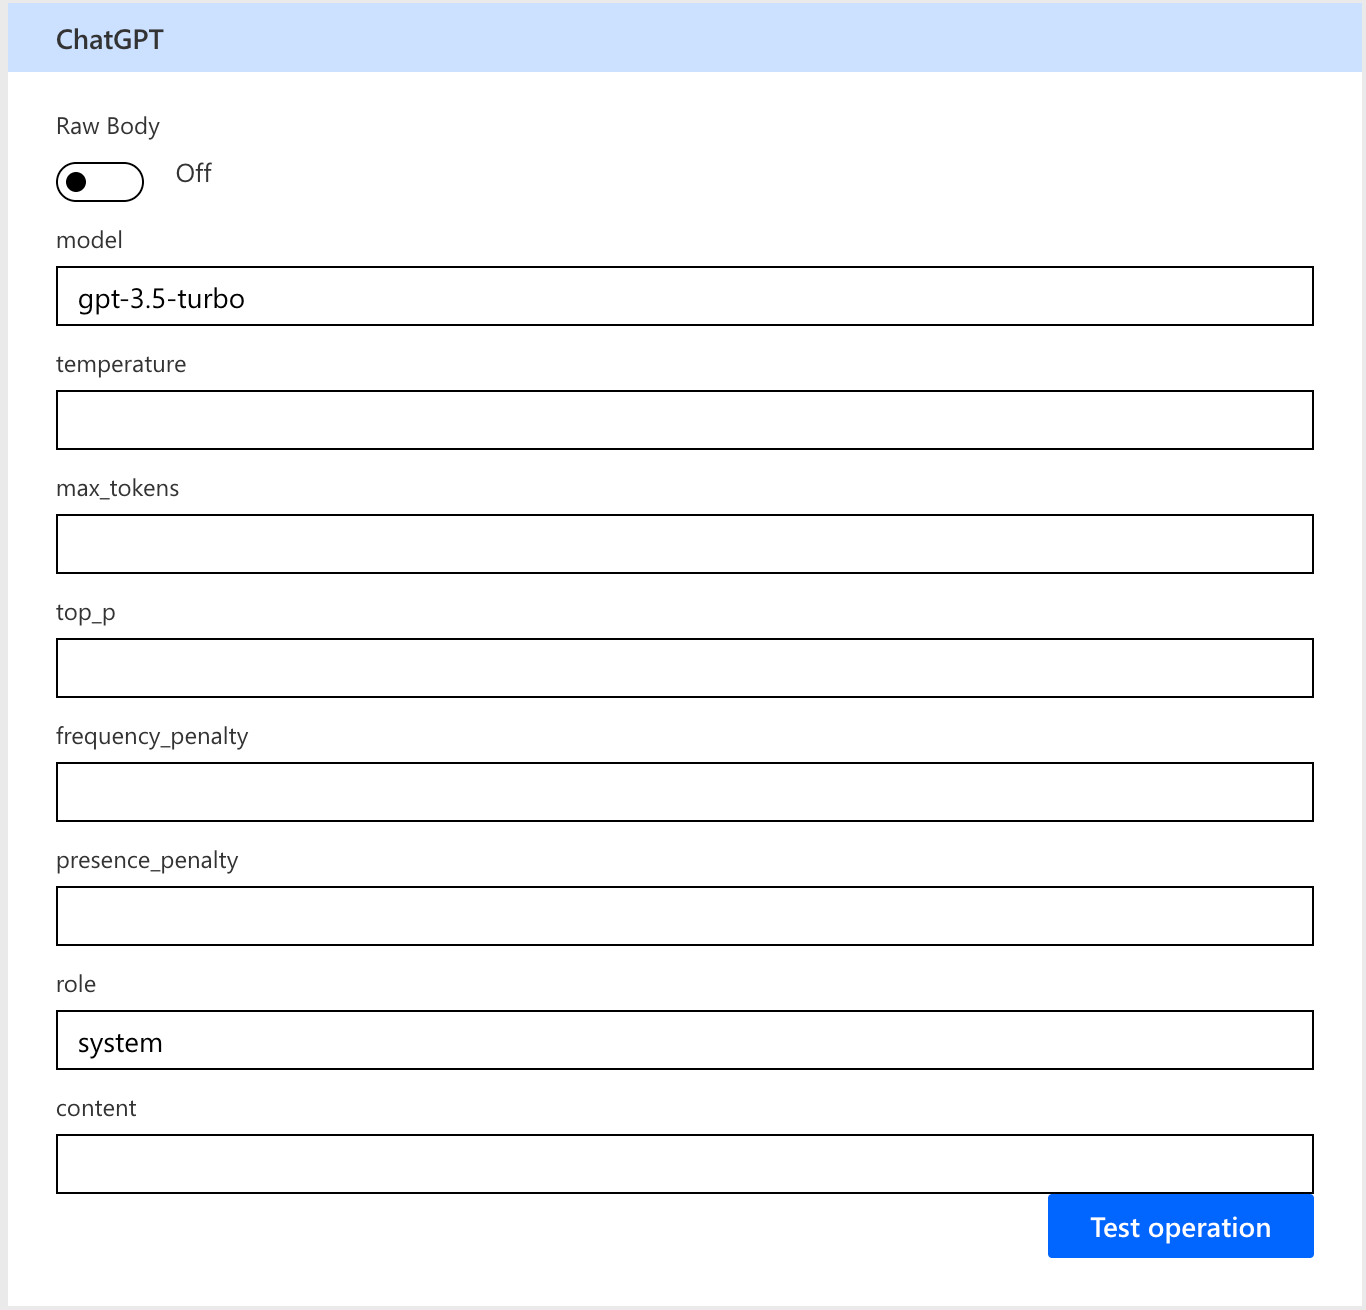
- Enter a sample prompt and parameters in the Request body and click on Test operation.
- You should see a response that contains the generated text in the Response body.
- model: The ChatGPT model that you want to use, such as “gpt-3.5-turbo”.
- role: The role of the user, such as “system”.
- content: The prompt that you want to use, such as “Hello! How can I assist you today?”.
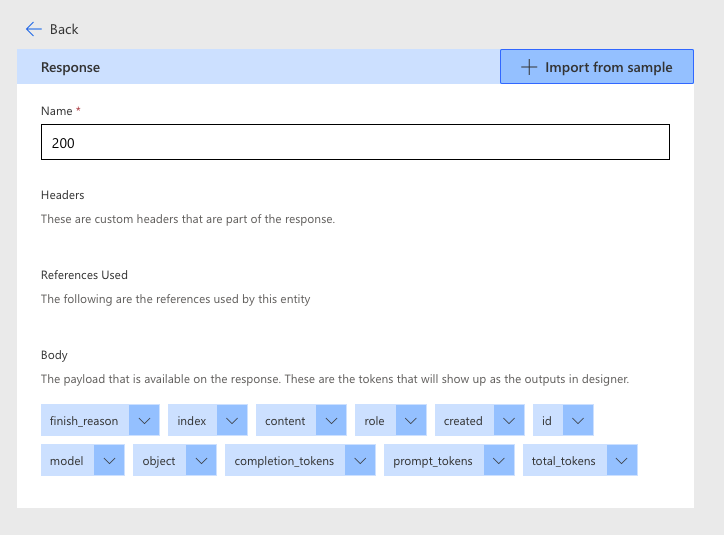
- Now copy the response body ,e.g.
|
|
and go to the Definition tab. In the Response section, click on Add default response and click on “Import from Sample”. Enter the copied response body and click Import. This will bring the response body into the connector definition, which will allow you to use it in your app.
- Please update your connector and you are ready to go.
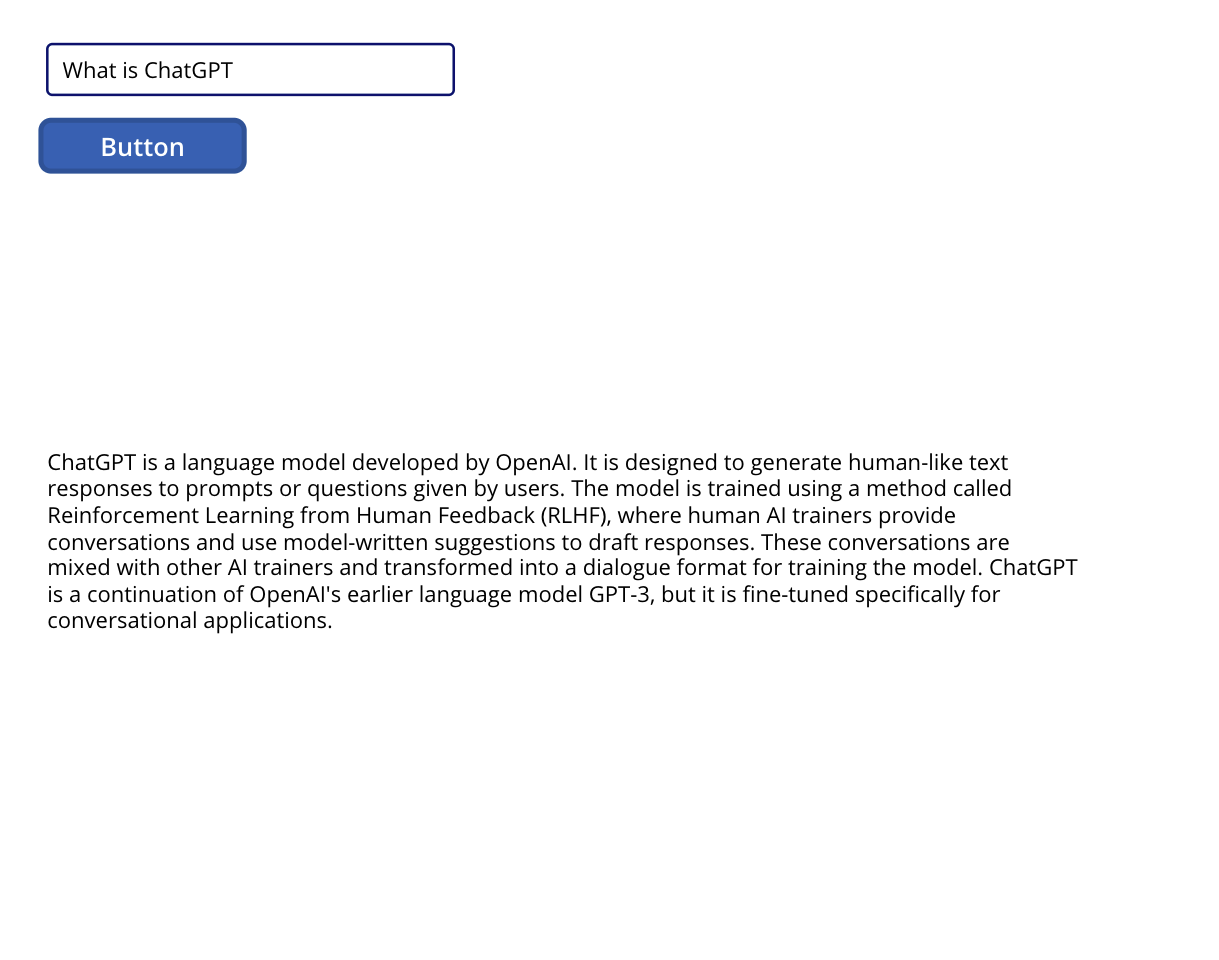
How to test the custom connector in a canvas app?
Now that you have set up your custom connector, you can test it in a canvas app. A canvas app is a type of app that you can build in PowerApps using a drag-and-drop interface. You can use canvas apps to create interactive and user-friendly apps that can run on any device.
To test the custom connector in a canvas app, follow these steps:
-
Go to https://make.powerapps.com/ and sign in with your Microsoft account.
-
In the left navigation pane, click on Apps > + New app > Canvas.
-
Choose a layout for your app, such as Tablet.
-
In the Insert tab, click on Text > Label and add a label to your app.
-
In the Properties tab, change the Text property of the label to the variable Name (e.g. Response).
-
In the Insert tab, click on Text > Text input and add a text input to your app.
-
In the Properties tab, change the Hint text property of the text input to “Enter your prompt here”.
-
In the Insert tab, click on Button and add a button to your app.
-
In the Properties tab, change the Text property of the button to “Generate”.
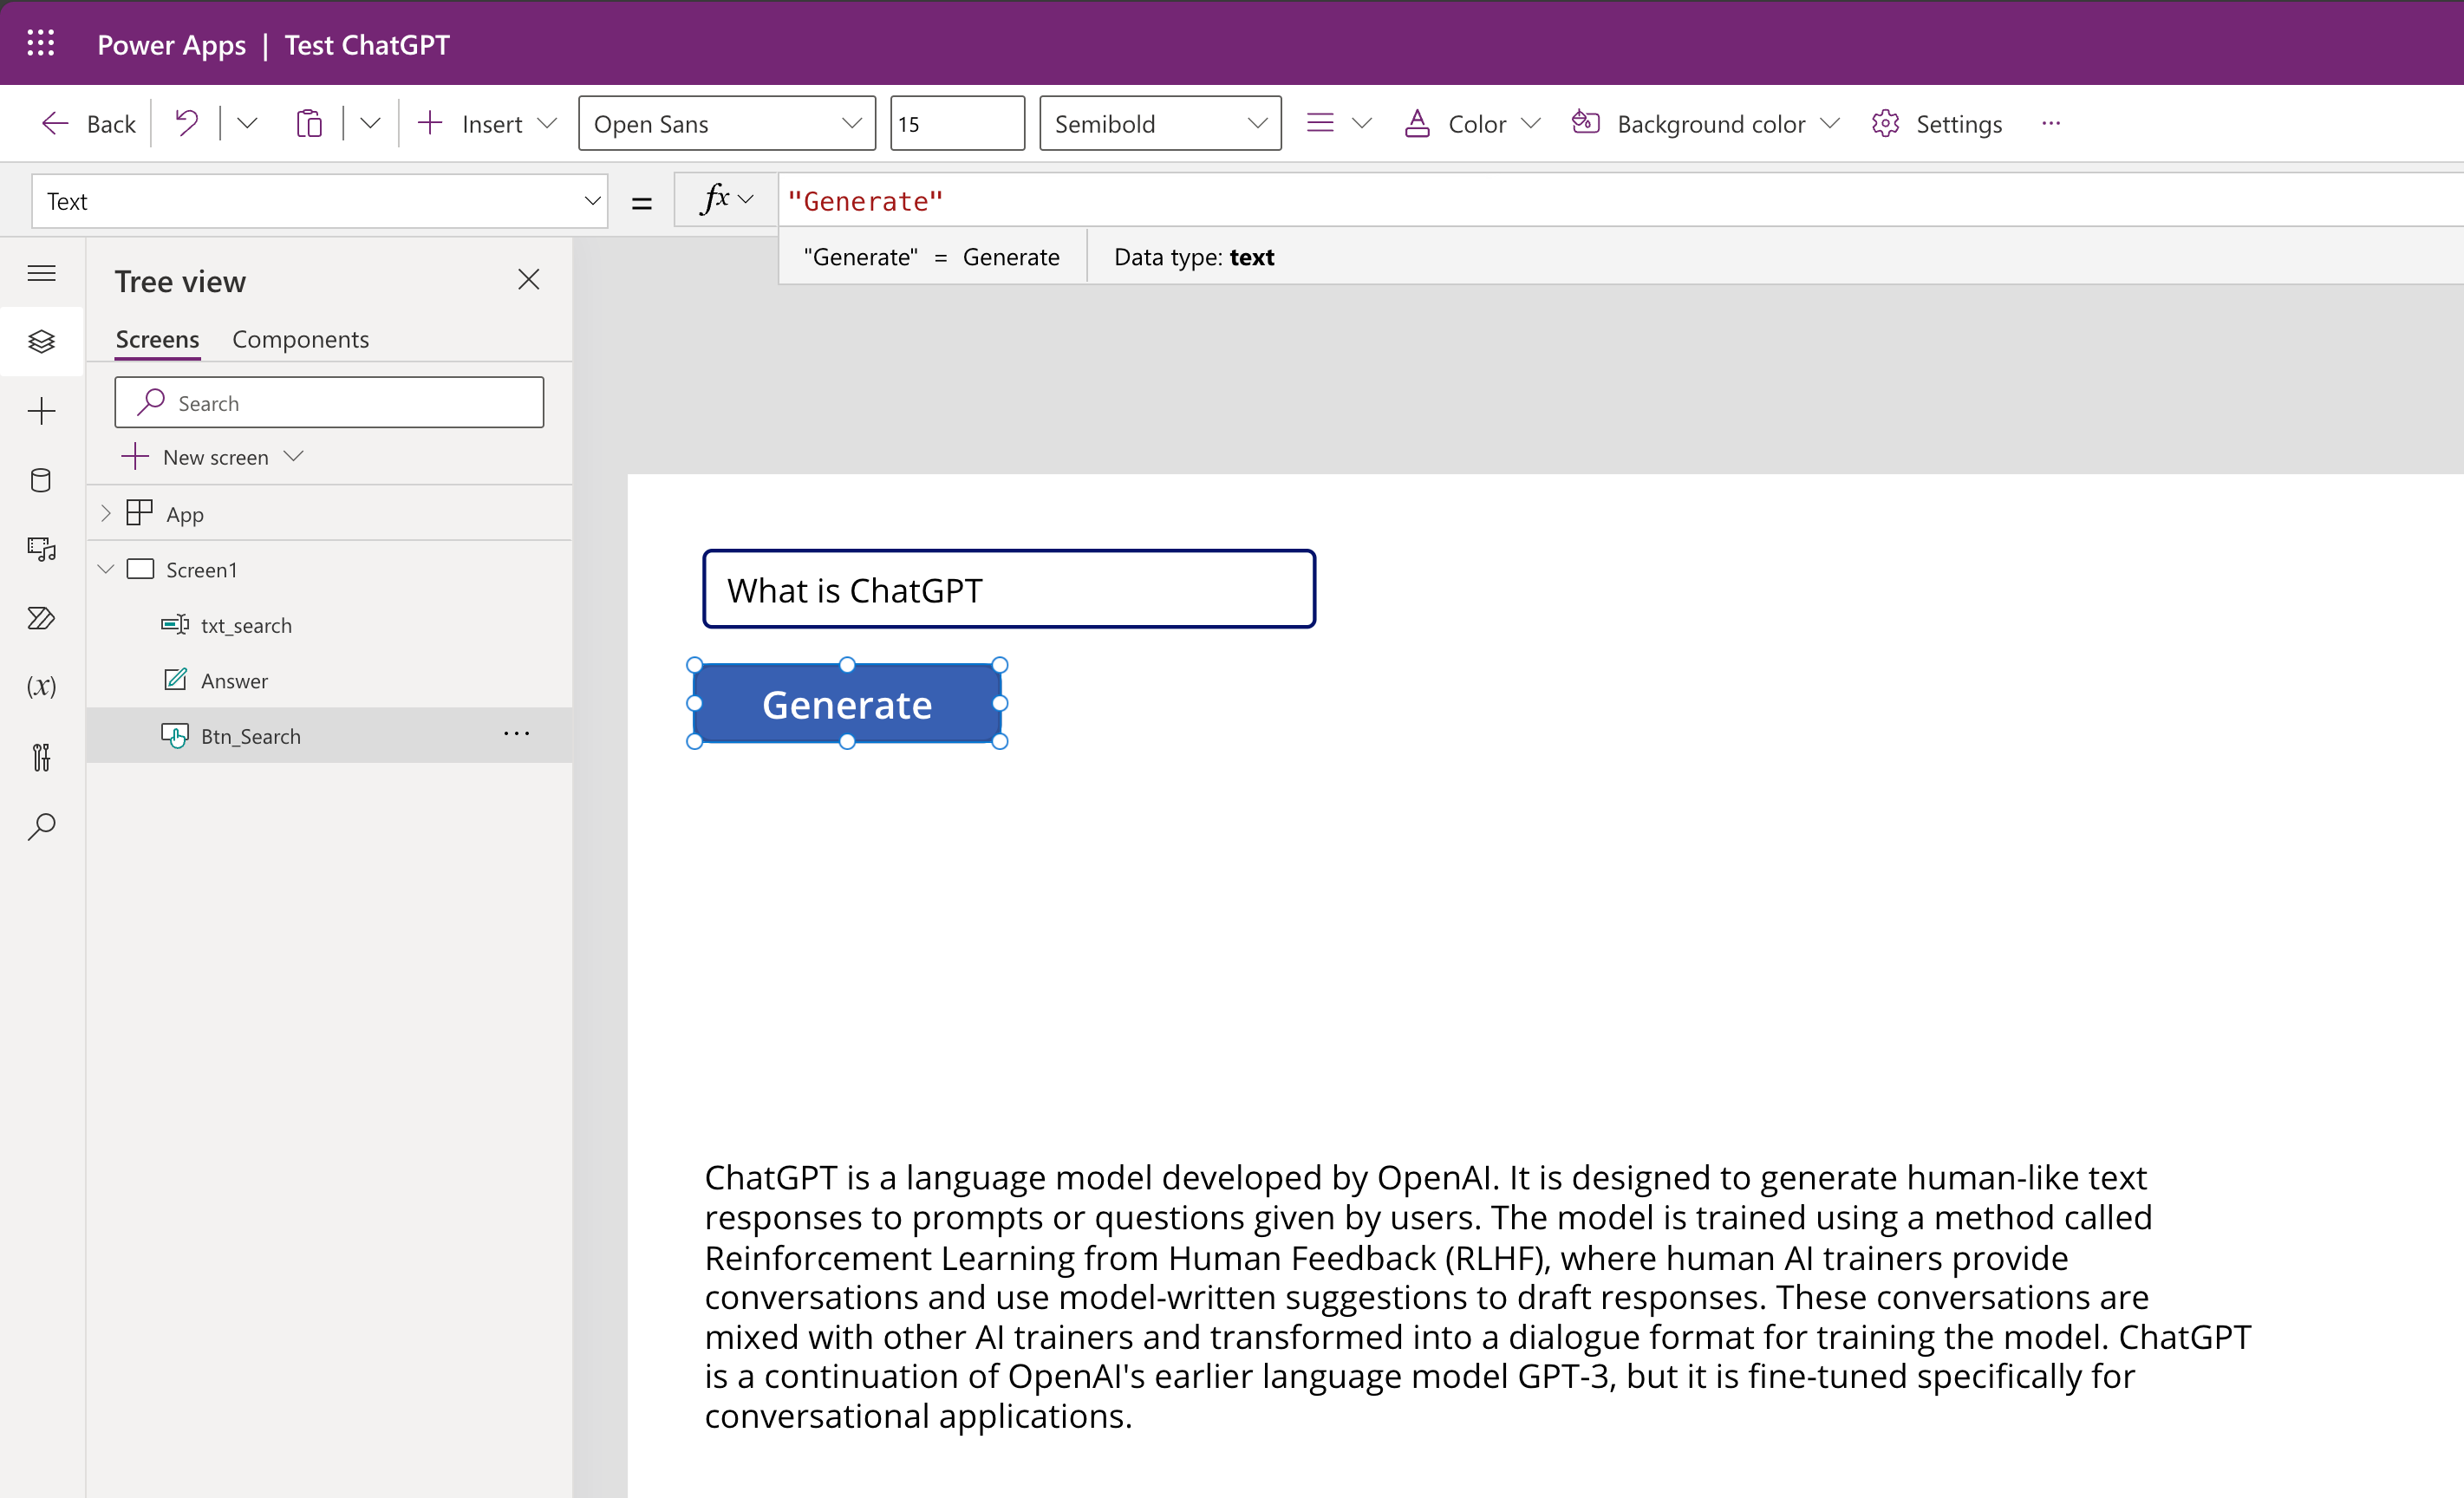
-
In the Advanced tab, click on OnSelect and enter the following formula:
|
|
- Now you can test the App by entering a prompt in the text input and clicking on the button. The generated text will be displayed in the label.