
Introduction
Microsoft Clarity is a free web analytics tool that helps website owners understand how users interact with their website. Clarity provides insights into user behavior, such as heatmaps, session recordings, and funnels, which can be used to optimize the user experience and improve website performance.
Why Use Clarity for a SharePoint Portal?
Microsoft Clarity can be a useful tool for gaining insights into how users interact with your SharePoint portal. By using Clarity, you can:
- Identify areas of your portal that are causing confusion or frustration for users.
- Optimize the user experience by making changes based on user behavior.
- Improve website performance by identifying and fixing issues that are causing users to leave your portal.
Clarity provides a range of features that can help you gain insights into user behavior, including heatmaps, session recordings, and funnels. By using these features, you can gain a deeper understanding of how users interact with your SharePoint portal and make data-driven decisions to improve the user experience.
Prerequisites
Before we get started, there are a few prerequisites that you will need:
- A SharePoint Online site where you have permission to add custom actions.
- PowerShell 7.2 or later installed on your computer.
- The PnP PowerShell module installed on your computer.
- A Microsoft Clarity account. You can sign up for a free account at https://clarity.microsoft.com/.
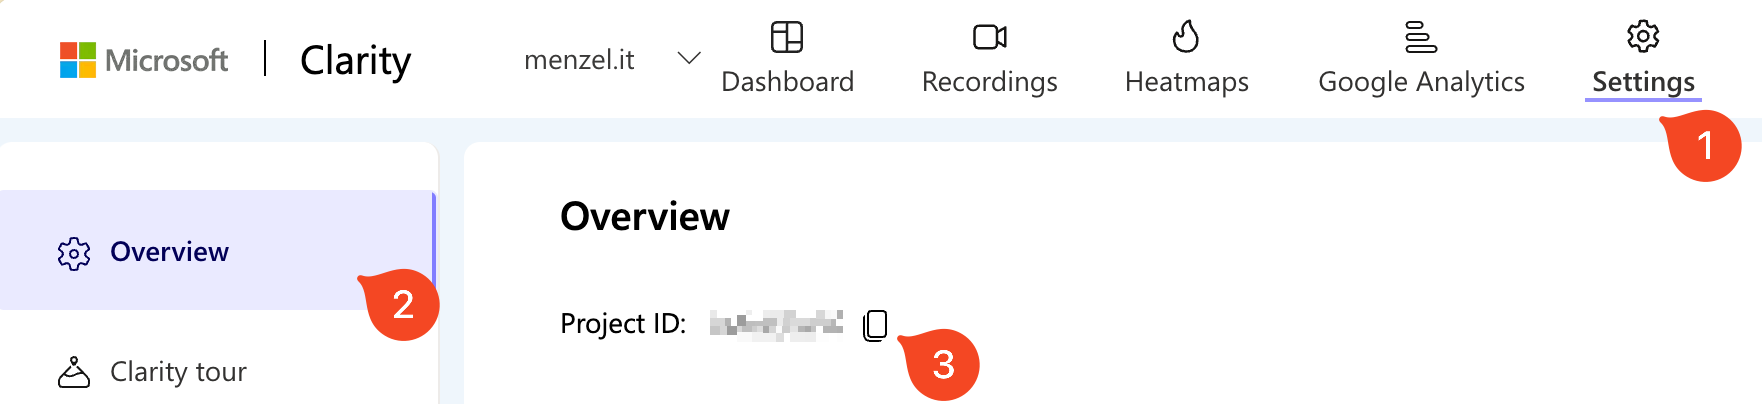
Get the Product ID of the Clarity App. You will need it in the script.
Installing the SharePoint App
As a SharePoint Administrator, you can acquire apps from this repository: https://handsontek.net/Downloads/clarity.zip if you want more information about the app, you can also find an other version here: https://github.com/joaoferreira/microsoftclarity/
-
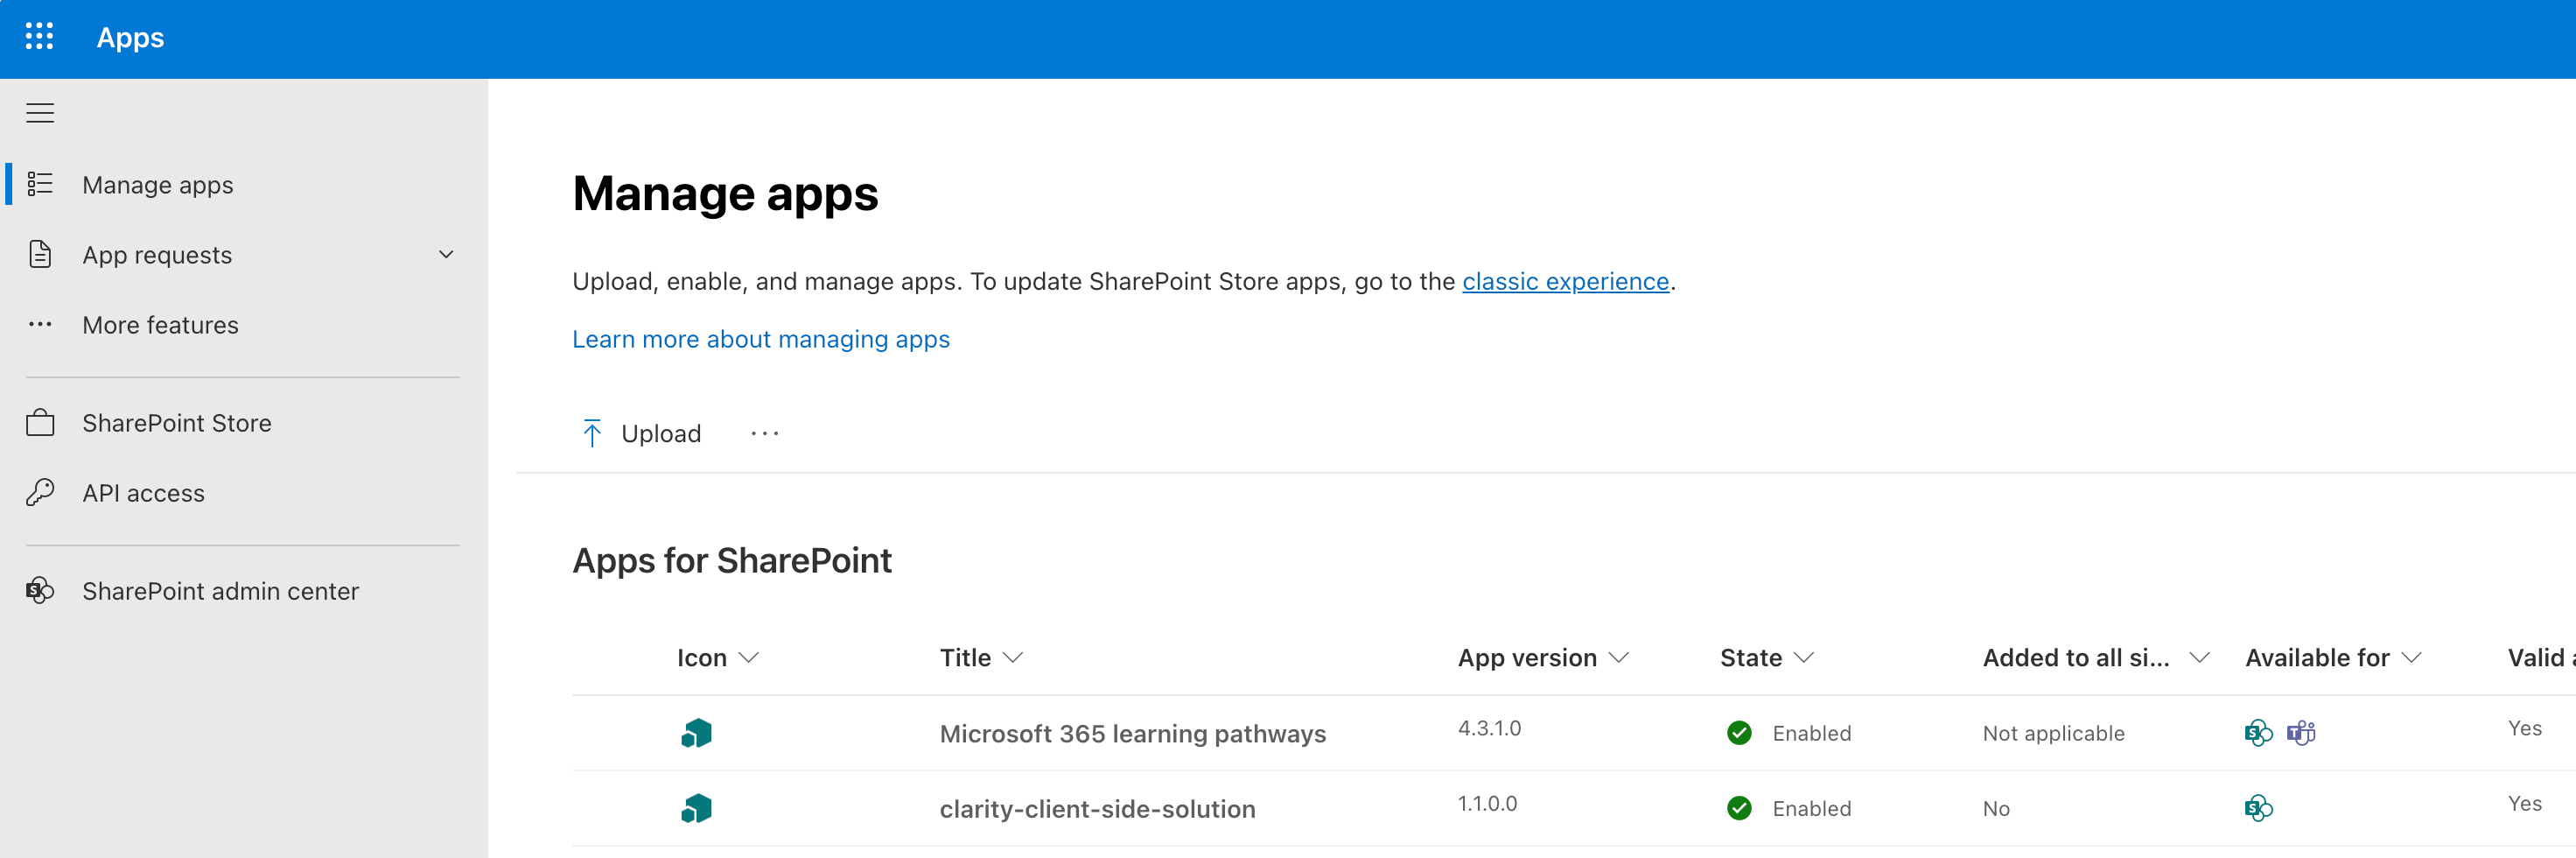
Log in to the SharePoint Admin Center In the SharePoint Admin Center click on more features and then click on the
Appsbutton.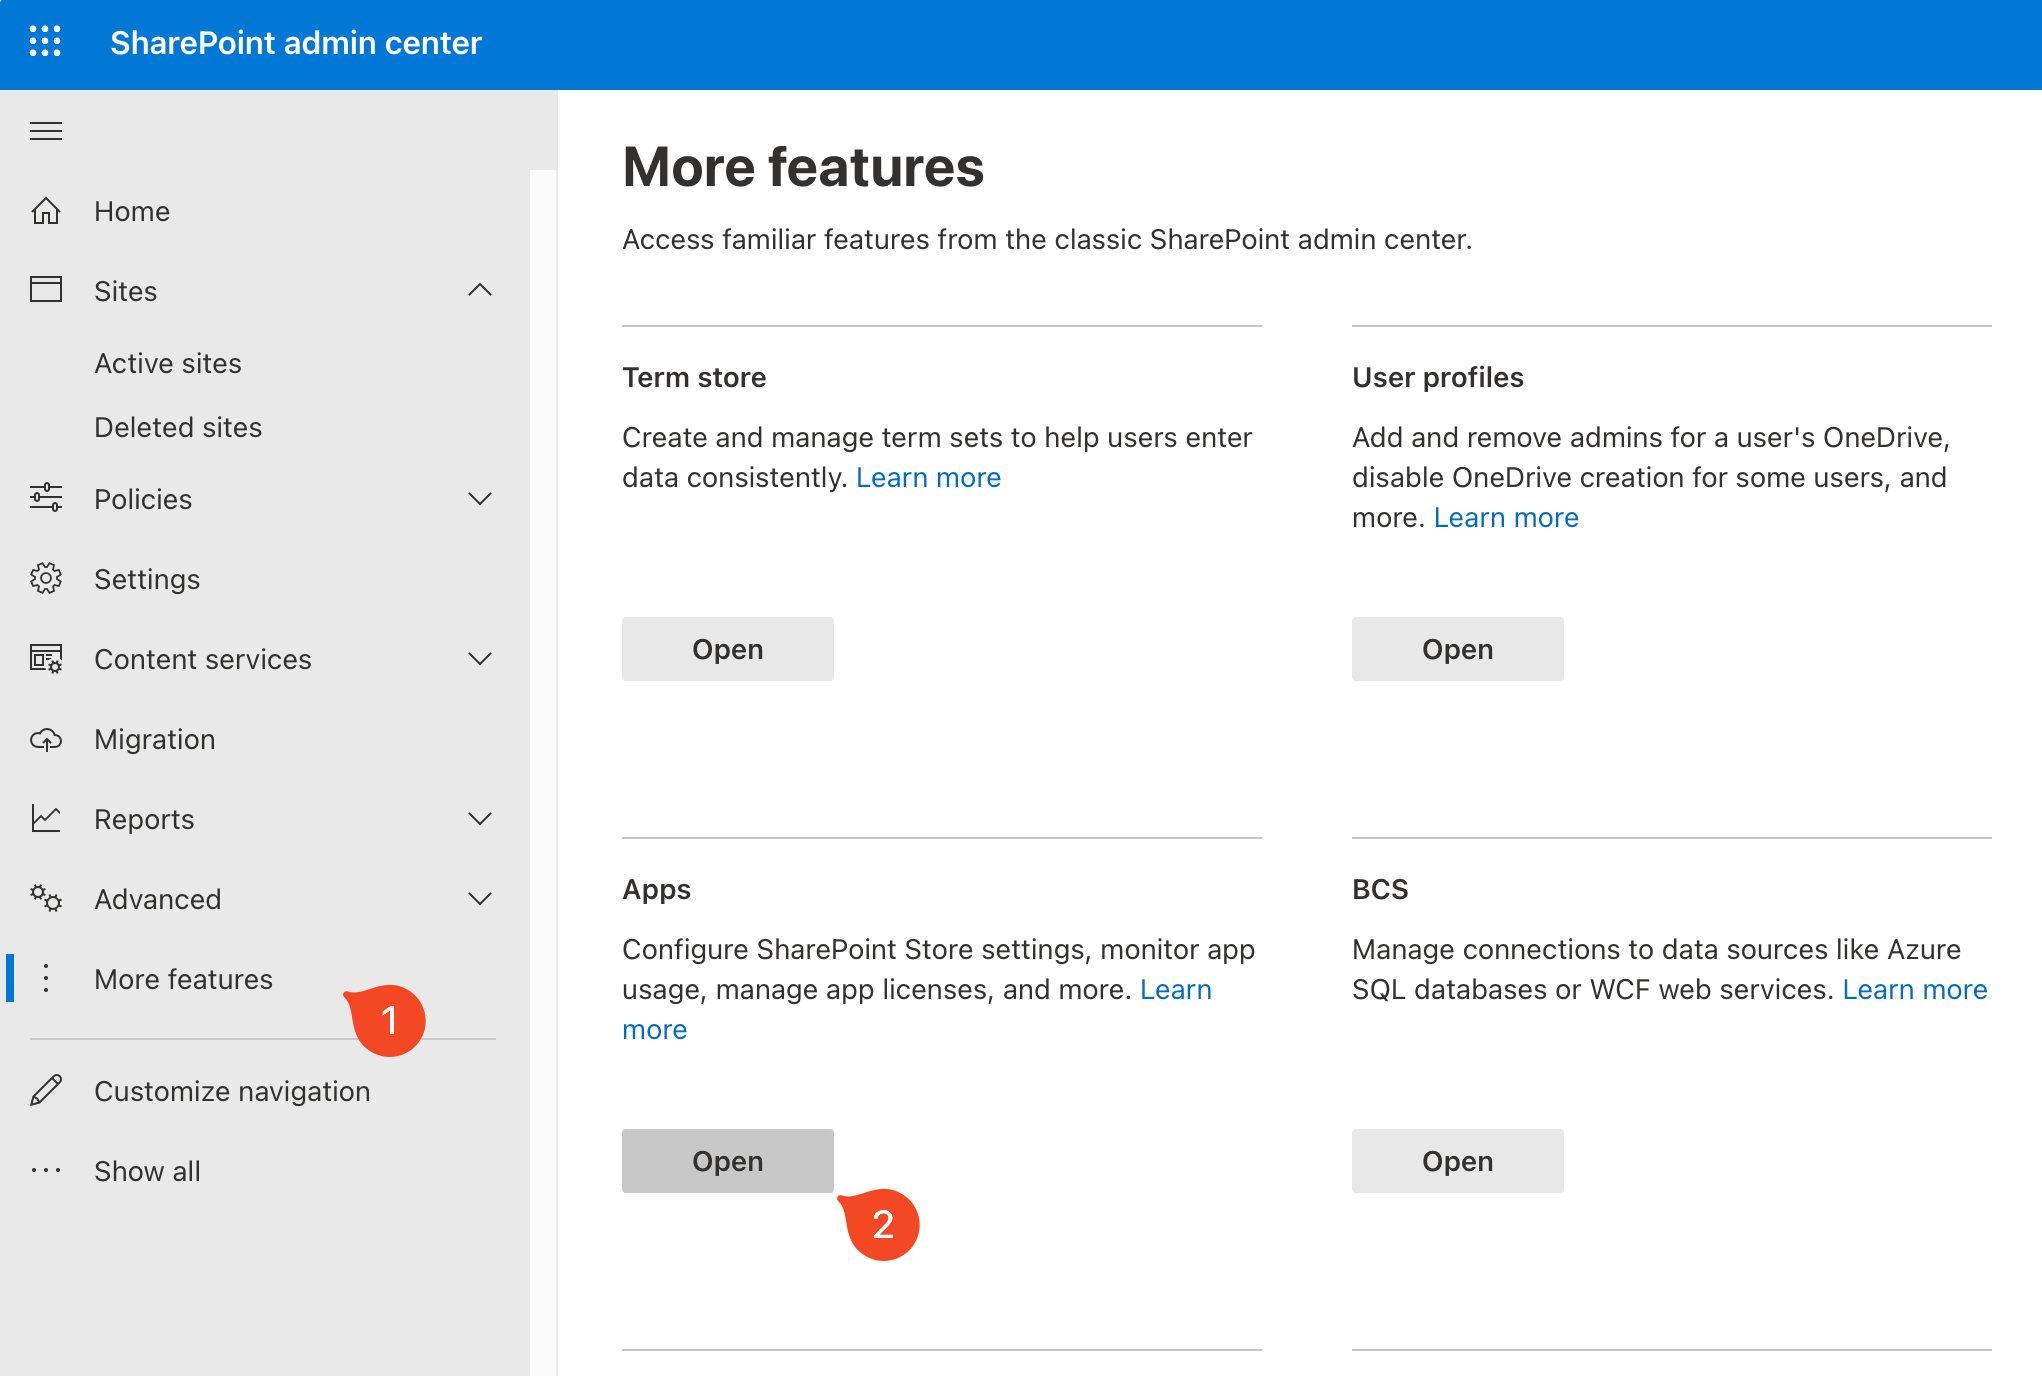
-
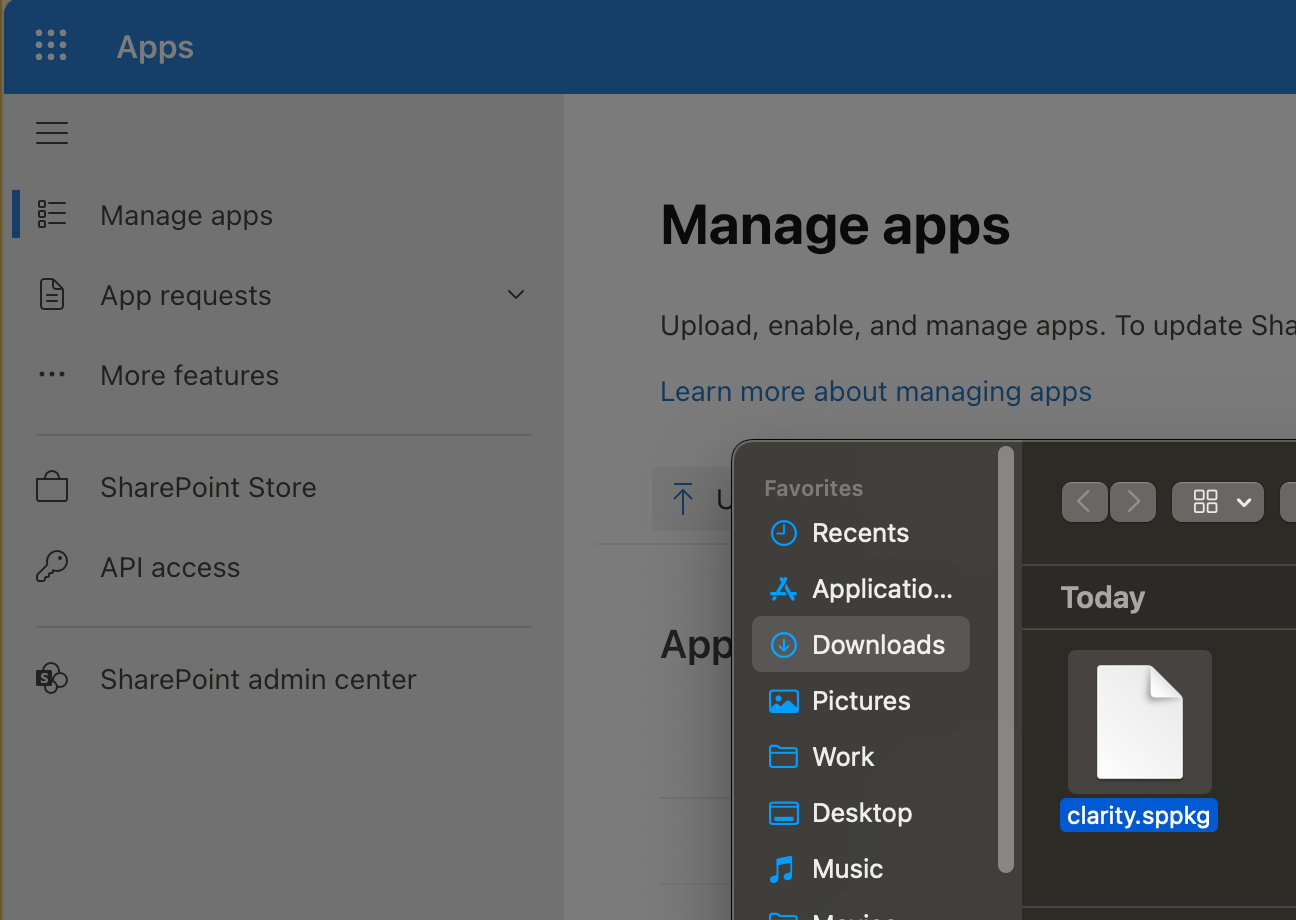
Upload App to the SharePoint Click the upload button and choose the dowloaded app file.
-
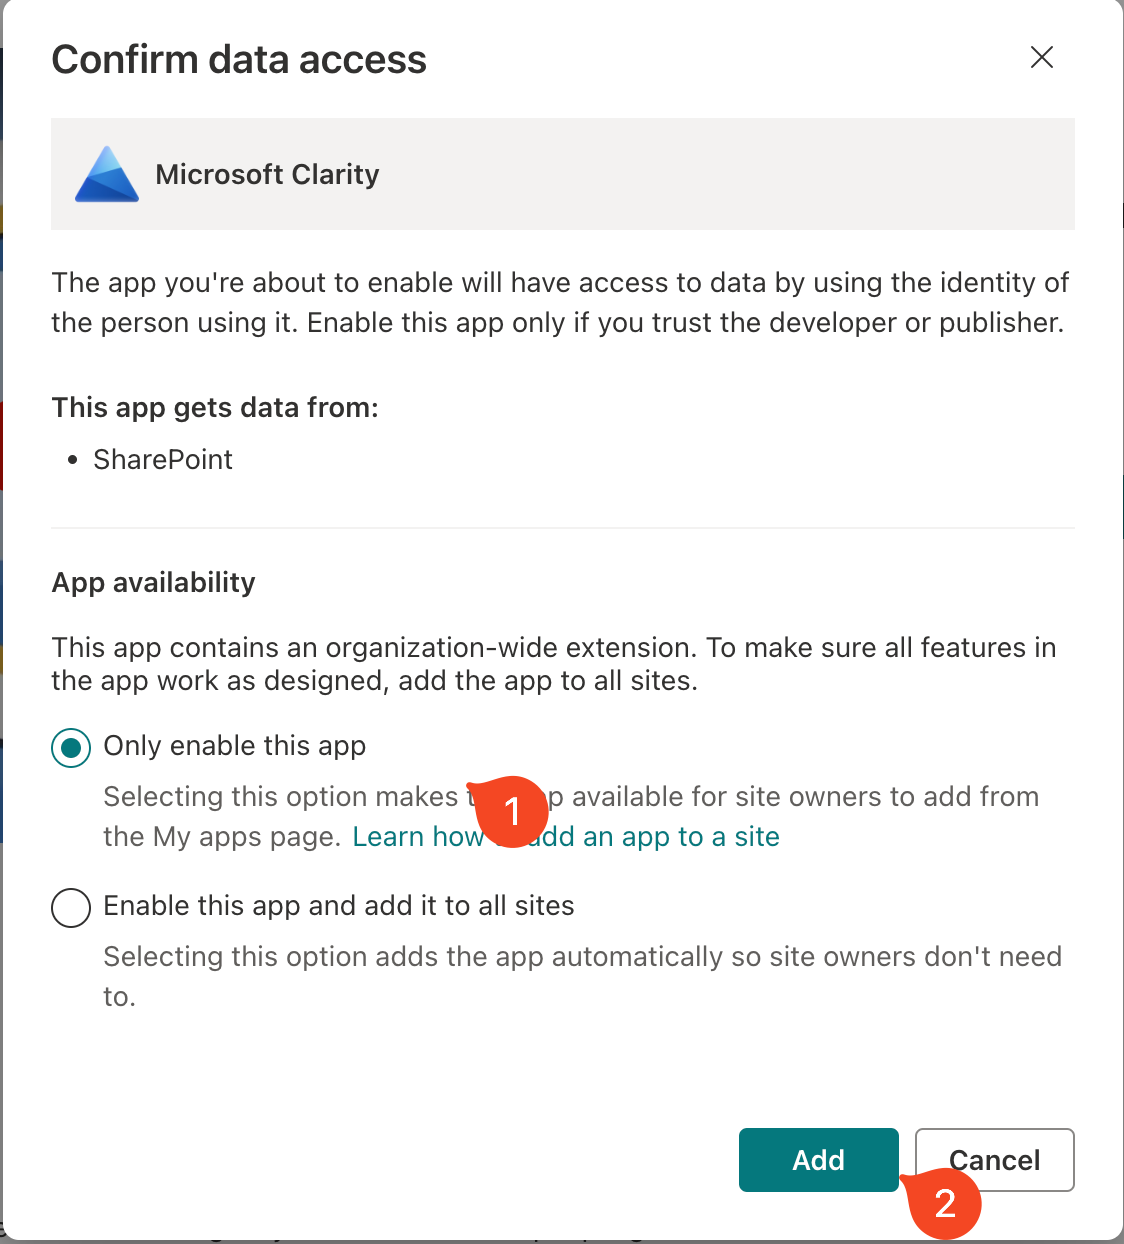
Define the scope of the App Select if you want to install the App for the whole tenant or only for specific sites.
-
Check Apps for SharePoint Check the Apps for SharePoint list to see if the app was added successfully.
-
Add Clarity App to SiteCollection
- Go to the SiteCollection where you want to add the Clarity App and click on the cogwheel in the top right corner. Then click on
Add an app.
- In the My apps page click on the
Alltab and then click on theClarityapp.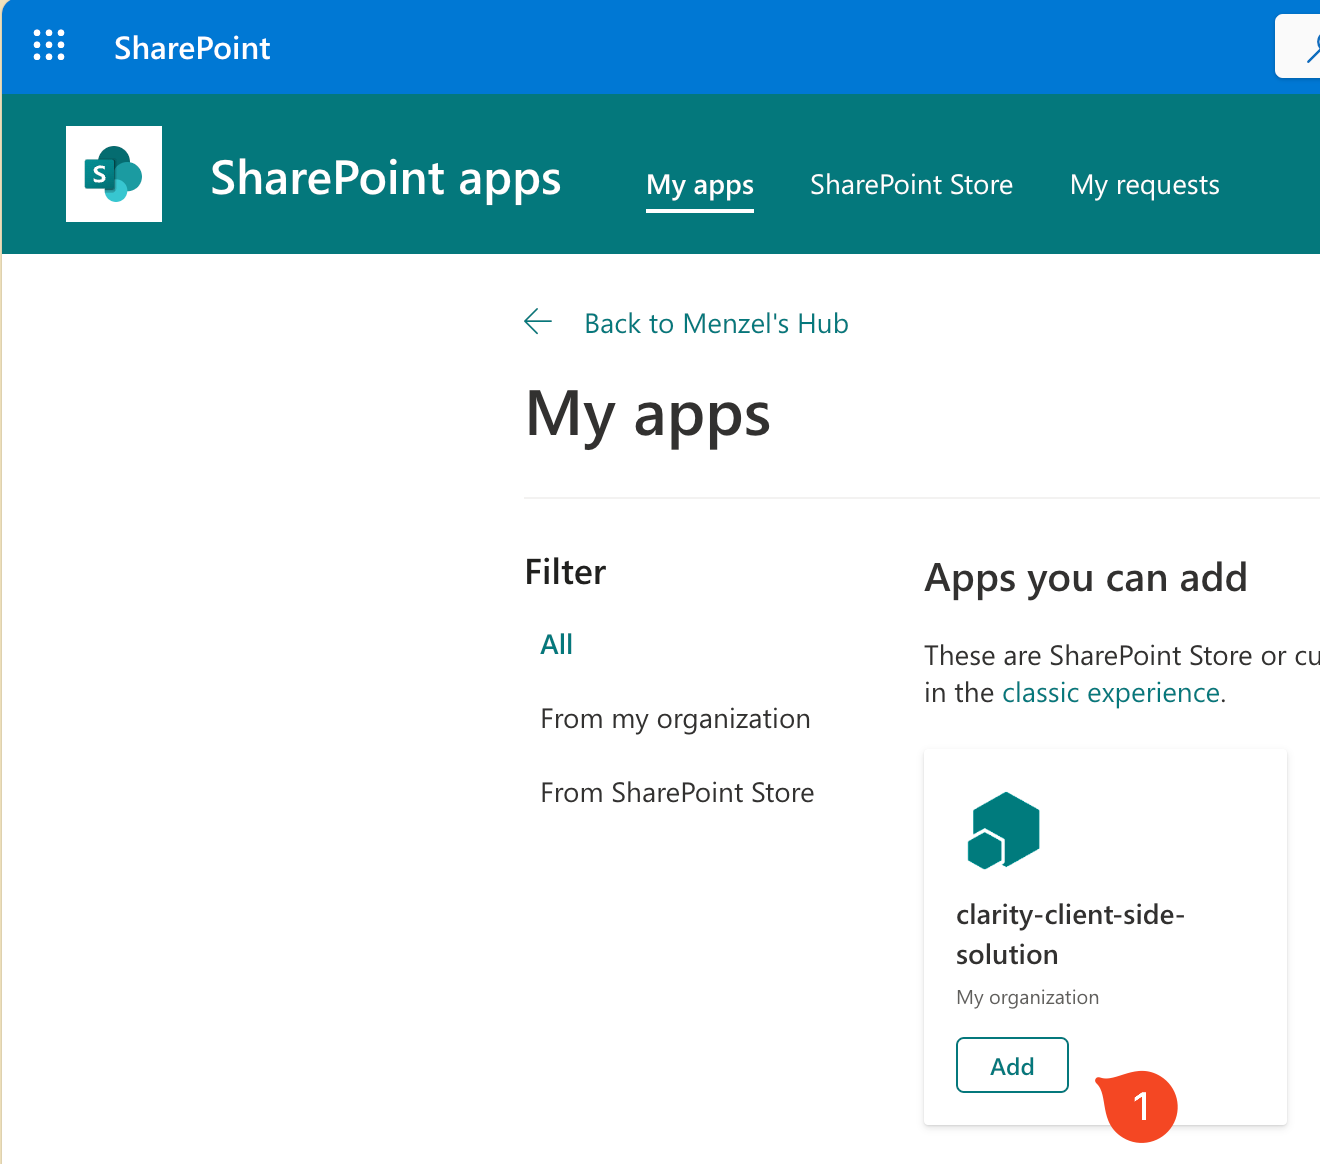
The Script
The PowerShell script below demonstrates how to activate Microsoft Clarity on a SharePoint SiteCollection:
|
|
The script first connects to the SharePoint site using PnP-PowerShell and then adds a custom action for Microsoft Clarity using the Add-PnPCustomAction cmdlet. The custom action is added to the site scope and specifies the client-side component ID, name, title, location, and client-side component properties.
Finally, the script checks if the custom action was installed successfully using the Get-PnPCustomAction cmdlet.
Once you’ve set up Clarity on your SharePoint site, it typically takes one to two hours for the dashboard to be configured and start receiving user analytics data. After that, simply refresh the dashboard to view all the metrics and insights.
Conclusion
In this blog post, we explored how to use PowerShell to set up Microsoft Clarity for a SharePoint portal. By using Clarity, you can gain insights into how users interact with your portal and optimize the user experience.
By using PowerShell and the PnP PowerShell module, you can automate this process and save time and effort when setting up Clarity for your SharePoint portal.